
We got familiarized with TestCafe, an automation tool for web-based applications, in one of our earlier blogs. In this article we will see what Page Object Model (POM) is for TestCafe, its advantages and how to create a basic framework.
What is Page Object Model (POM)?
Page Object Model is a design pattern which is commonly used in Test Automation to enhance test maintenance and reduce code duplication. It helps in building an Object Repository for Web UI elements, which boosts the readability of your tests too.
In a Page Object Model, each page in the web application contains a corresponding Page Class which comprises the Web Elements and the Methods which operate on those Web Elements.

Why do we need Page Object Model?
For better understanding of this, let us take the example of the home page of a web application, which has a menu bar leading to different modules with different features. Suppose a developer changes an element such as ID/NAME/CLASS, on this, which is being used in multiple test scripts. This leads to a condition where you need to remember to change the location in all the fields where it is being used. Updating the locators in a duplicated code can be a time consuming and a tedious job, and can subject to omissions, which may lead to errors. This is one major reason why we use POM. It helps in making the code more readable, maintainable and reusable.
How to create POM Framework using TestCafe?
Implementing your own POM framework is quite easy now. Let us discuss bit-by-bit on how to implement your own POM using TestCafe. Here we are using Visual Studio Code to write scripts. You can download it by going to the following link.
https://code.visualstudio.com/.
Throughout this tutorial article, we will be using the demo website, “http://demo.guru99.com/test/login.html”, as an example.
Let’s get started
Pre-requisite-
• Install Node – explained in the previous article
• Create a Project Folder and open the Project Folder in Visual Studio Code


1. Initialize project.json
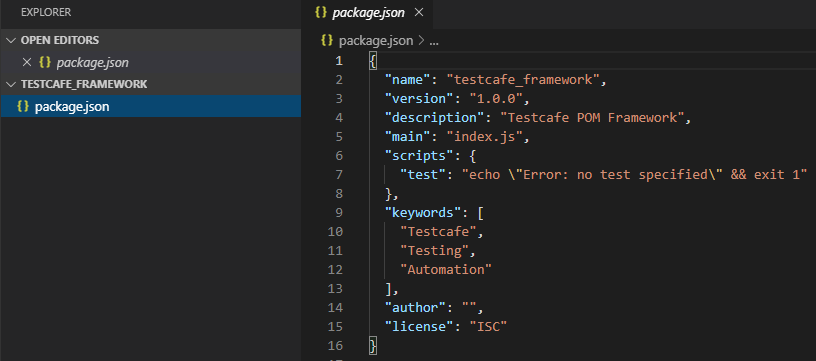
In package.json file, we can store information about the project such as name, version, description, scripts, dependencies, git repository links, etc.
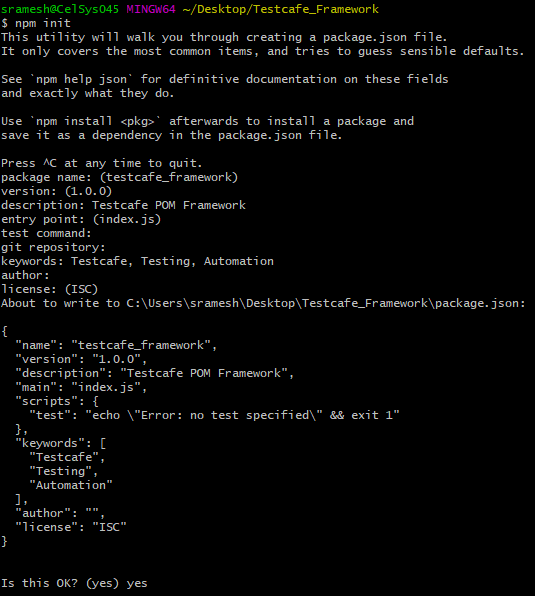
To initialize project.json file, type “npm init” command either in VS integrated terminal or any external terminal. It will prompt you to a set of questions about project, just fill it if required or just hit Enter. At the end, it will prompt – “Is this OK? (yes)”. Type “yes”.
This will create a project.json file inside your Project Folder. You can find the screenshots of the same below.
2. Install dependencies
The dependency in our project is TestCafe. Install your dependency locally to your project by executing the command “npm install testcafe”.
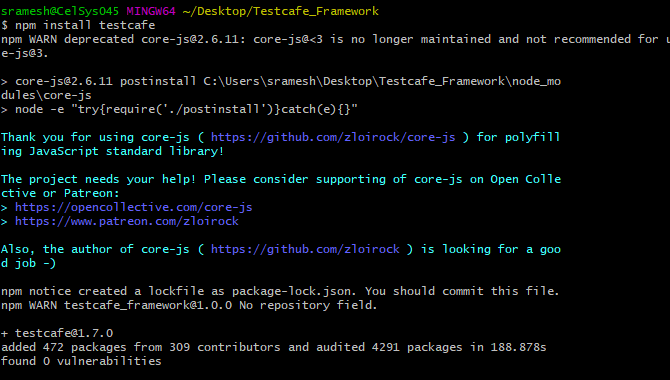
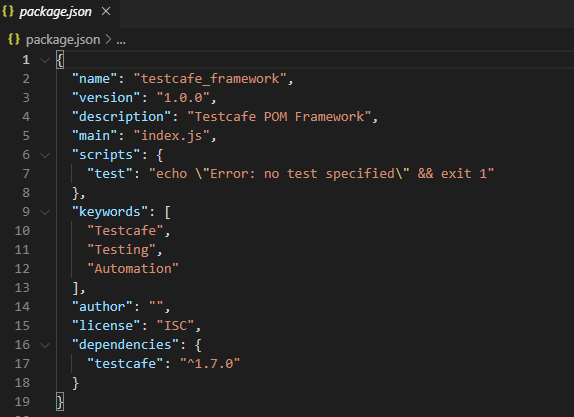
This will create a node modules folder, which contains node modules with respect to TestCafe. You can see that the dependency of TestCafe with version will be added in package.json file.
3. Create a Folder “Page” and create a “LoginPage.js” file under it
4. Declare a Page Object Class in “LoginPage.js” file
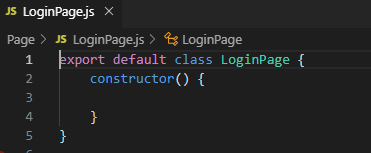
This class will contain all the element locators and methods of Login Page. Hence name it as LoginPage.js.
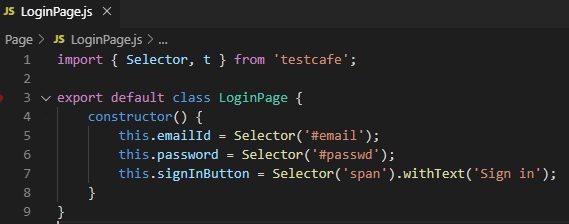
5. Add Page elements to the Page Model
Go to “http://demo.guru99.com/test/login.html”, right-click on email address text field and click on Inspect. Then Elements Panel will be displayed, and the element will be highlighted in the DOM. Mostly, an element can be uniquely identified by using its classname, id, value withText or xpaths. Now in this example, the unique locator to identify web element email address is “id = email”. Hence you can use it as “emailId = Selector(#email);”
Similarly, unique locator for other two elements are also found.
Now, you must be wondering what is this “Selector” that has been used in the above step.
Selector in TestCafe
A Selector is a function in TestCafe that identifies a webpage element in the test. Import the Selector constructor from the TestCafe module. With the help of Selector, you can store the web element in a variable and perform actions on these elements.
6. Create a Folder “Test”, with a subfolder “login” and create “login_test.js” file under it
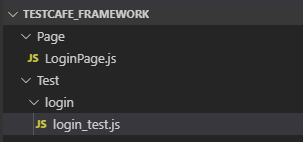
Under “Test” folder, test scripts related to each module should be separated by their module name. For example, in this case, login test cases will be included in “login_test.js”, which is under login folder. Similarly, if there is a register module, then create a separate folder called “Register” under “Test” folder and write test script related to register module in “register_test.js” file. This ensures that the test cases are categorized with respect to the modules.
7. Write Test Script that uses Page Model elements
a. In the test file, import the page model instance from LoginPage.js. Then create an object of that page “const loginPage = new LoginPage()”, and now you will be able to use locators or methods defined in LoginPage.js file by using “loginPage” object.
Declare a test fixture by using fixture function – you can specify the description of the test as “fixture ‘TestCafe Framework’”, URL of the webpage with keyword as “.page `http://demo.guru99.com/test/login.html’”. The metadata, initialization and clean-up code for tests can be included in the fixture using test hooks like beforeEach, afterEach etc.
b. To create a test, use keyword test(), where we can specify all TestCafe actions.
Each test() has its own description – in this case it is, “Login Test”
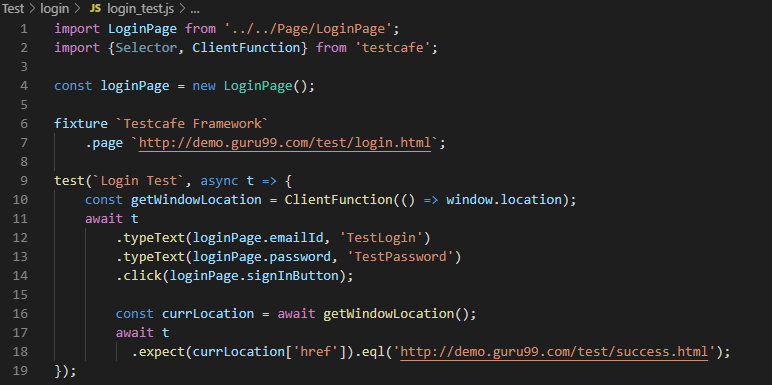
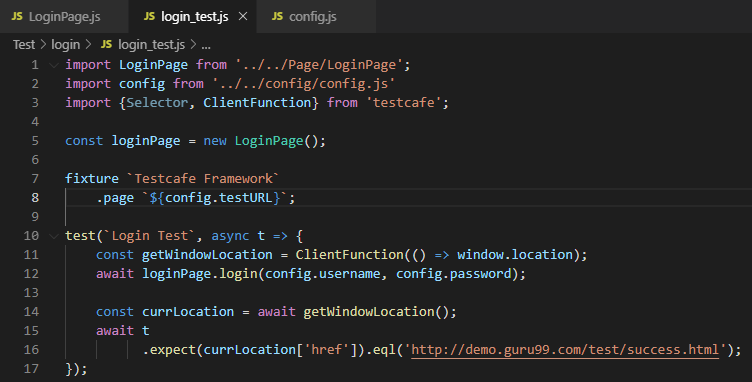
test(`Login Test`, async t => {
		//test code goes here
})
The “t” used in the above code is a test controller, you can use any name you want but the general convention is to use “t”.
In the screenshot, you can see that we have used await t.typeText(‘Selector’, ‘text’); it means that we are asking the test controller to use typeText function.
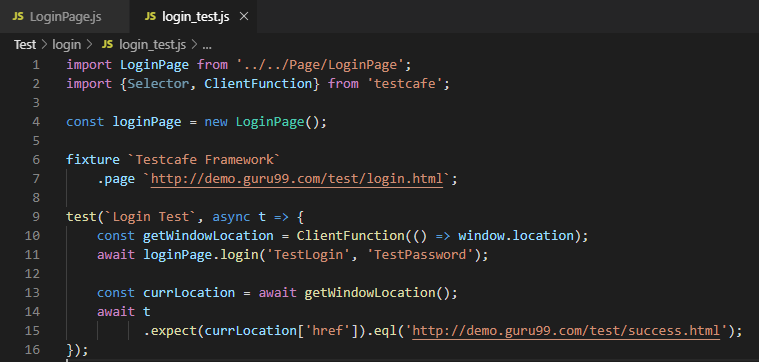
8. Add Actions to the Page Model, i.e., add common methods that is used by login_test.js file

In this case, Line 12, 13 and 14 constitute an operation that can be used in most of the test cases to log in to the application with different inputs. Hence, a login function is defined with email and password as parameters in LoginPage.js file.
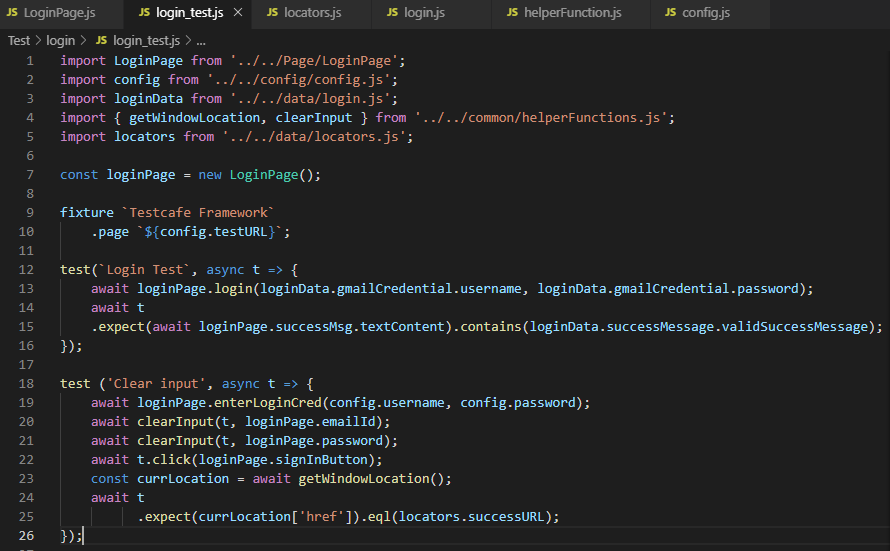
The image below shows how to access or call “login” function from “login_test.js”.
9. Create a config.js file
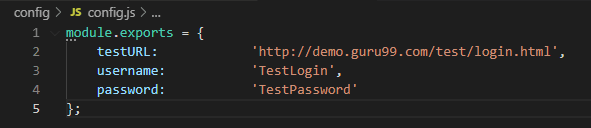

Configuration files are mainly used to store Global fields that are used throughout the tests or even database configuration details. It is mainly used to maintain project configuration data, database config, project settings etc. Each parameter in config file is stored in a key and value format, where each line has a single key-value pair.
10. Create a data folder to store data related to specific tests/pages
Create a new folder called “data” and create a new file under it and name it as “login.js”. Files under data folder should contain test data that will be utilized by your login test scripts such as valid login credentials, invalid login credentials, success messages, error messages etc.
The main purpose of this is to avoid hard coded values. Data sets increases test coverage by performing testing with various inputs of valid and invalid data, with all the data easily maintained at a single location.
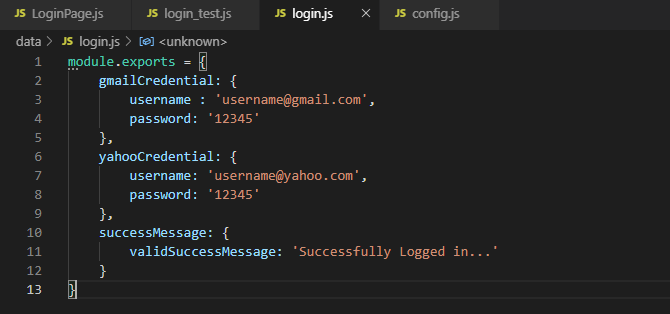
Login.js file should contain all the test data that will be used by your login test scripts.
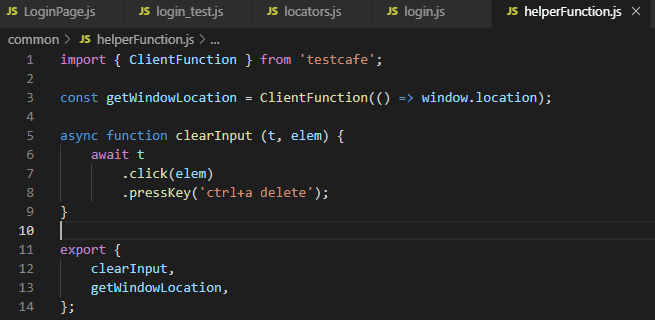
11. Create a common helper function file to store functions used by all your test modules/pages
Create a folder and name it as “common” and create a file under it with name “helperFunction.js”.
There may be functions which can be used by more than one test script. Thus, these methods are grouped together in a file called “helperFunction.js”. The following images depict how the test script can access these common methods by importing them into the test file.
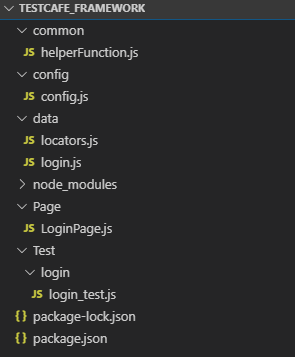
Done! You have successfully completed creating your own POM framework.
Your final folder structure should look something like this,
POM Summary
The POM model approach makes the test automation framework programmer-friendly by keeping tests and the element locators separate. This keeps the code clean and understandable. The result is that test cases can easily be implemented, updated, maintained, and reused.
We hope that, with this information, you will be able to easily create your own POM framework for your project. Stay tuned for more. Happy testing!!!