
Whenever a test engineer thinks of turning their manual effort of testing web applications into automated scripts, Selenium is the first tool that they would opt for. According to surveys, most Automation Test Engineers use Selenium in their projects. Choosing a perfect automation solution for any organization is a challenging task. Most of them seem to opt for open-source solutions. Although Selenium is the first choice, as it is an open-source automation tool, this framework isn’t simple to use since it requires additional effort to install external libraries/plugins to run the tests.
If you are looking for an alternative product like Selenium here’s another new cool web testing tool, TestCafe. With TestCafe, you can write tests in JavaScript and TypeScript and is easy to use, free, and has enhanced features, which help testers overcome the efforts of setting up plugins.
What is TestCafe?

Test Cafe is a Node.js end-to-end free and open source automation tool, which is used to test web applications. It works on all popular environments such as Windows, MacOS, and Linux. With its easy to install feature in a single command, you can write scripts in JavaScript [or] TypeScript.
Why TestCafe?
- Less time to download and start creating tests. It is easy to install, configure and get started.
- Can run your tests on any browser without having to download separate drivers for each browser
- No external libraries or plugins required
- Built-in waiting mechanism
- Run tests on remote computers or mobile devices
Below are the steps to install TestCafé and run your first script
Before starting, ensure that Node.js (version 8 or above) and npm are installed on your machine.
Initializing the project
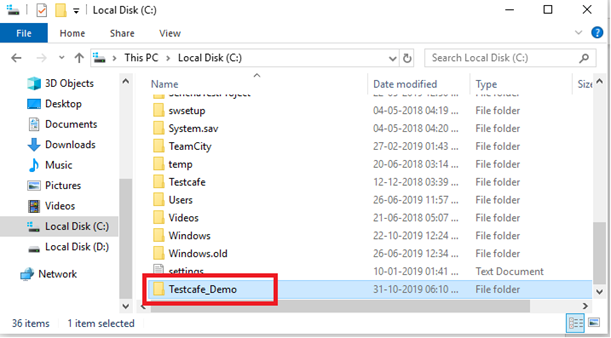
- Create a ‘New Project Folder’.
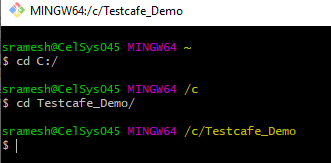
2. Navigate to ‘Project Folder’.
3. To get started, all you have to do is install TestCafe with npm in the ‘Project Directory’:
~ npm install testcafe –save
OR
~ npm install -g testcafe
4. Create a “.js” or “.ts” file inside the ‘Project Folder’.
Creating the First Test Script
5. Copy and paste the following code into the “.js” file created in previous step to see the test in action.
import { Selector } from 'testcafe';
 fixture My First Script
 .page http://www.google.com;
 test('My first test', async t => {
     var textBox = Selector('.gLFyf.gsfi');
     var submitBtn = Selector('.gNO89b');
     await t
         .typeText(textBox, 'Testcafe').click(submitBtn)
         .expect(textBox.getAttribute('value')).eql('Testcafe');
 });
Running the Test
6. Run the test with the following command:
testcafe chrome test.js
No need to download any drivers, specify anything in PATH or pass the path to a driver.
7. You can see the following result after running the command above.
sramesh@CelSys045 MINGW64 /c/Testcafe_Demo
 $ testcafe chrome test.js
 Using locally installed version of TestCafe.
  Running tests in:
 Chrome 77.0.3865 / Windows 10.0.0
 My First Script
 √ My first test
 1 passed (14s)
Done! You finished installing TestCafe and successfully ran your First Script
With TestCafe, end-to-end testing is no more complex. TestCafe is simple and easy to learn for any Manual Test Engineer to quickly make headway towards being an Automation Test Engineer with quality testing services. This is just a peek into how a web application can be automated through TestCafe.
Stay tuned for more updates on TestCafe.