Ranorex Studio is marketed as an end-to-end GUI testing tool based on .Net framework and thus supports C# and VB.Net as its scripting languages. It is an extensive tool having various features to test the GUI of an application. But, for a tester, there are certain conditions where some data needs to be fetched from the APIs to test a feature completely or to integrate API testing in the same framework. Well, this is possible with Ranorex Studio.
Even though Ranorex provides features from recording test actions to creating test cases, it also allows the users to create code modules using C# or VB.Net. In this article, we will discuss utilizing this feature and create code modules in C# to integrate APIs to our tests.
Creating C# Classes in the Project
To start testing/integrating APIs, we first need to create a C# class. Follow the given steps to create a class:
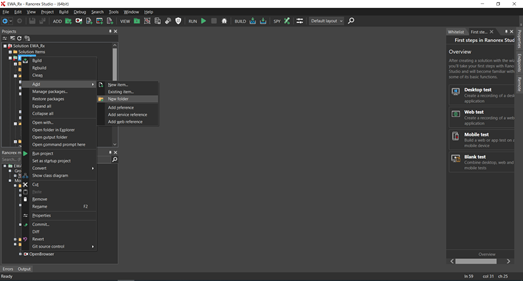
1. Create a new folder under the project (just for keep it organized) and name it “HelperClasses” (name can be anything)
a. Right click on the project folder > Add > New Folder
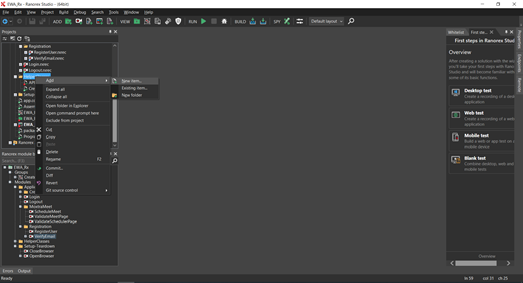
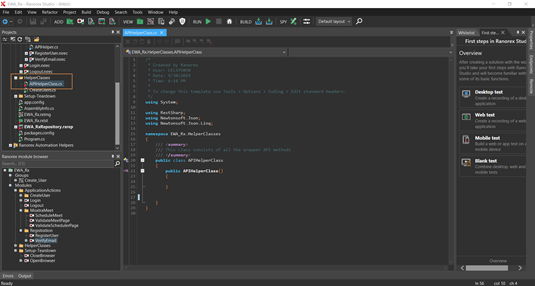
2. Create a new class under the Helper classes folder and name it as “APIHelperClass”
a. Right click on the folder > Add > New Item
b. Select ‘Class’ under the ‘Add New File’ window and click ‘Create’
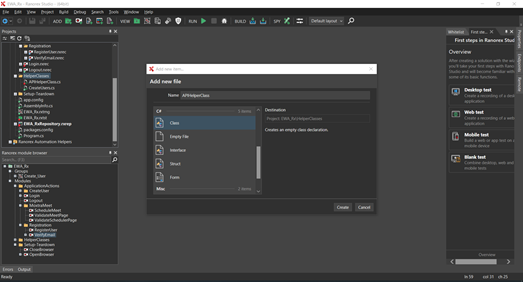
A new class will be created under the “HelperClasses” folder
Adding Required NuGet Packages
NuGet is the Microsoft Package Manager that a user can use to add different third-party packages/utilities.
We will add 2 NuGet packages to our solution:
- RestSharp: It will be used to make API calls and fetch the response of the API.
- JSON.Net [By Newtonsoft]: It is a JSON framework for .Net and will be used to parse the JSON response of the API.
To add the stated packages, follow the given steps:
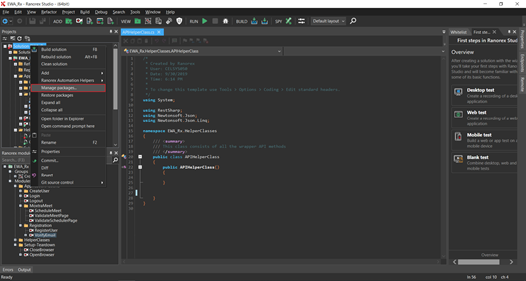
1. Right-click on the solution > Click ‘Manage Packages’
2. Search for “RestSharp” in the package manager and click add on the first result
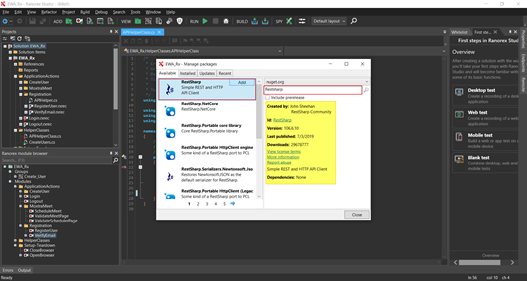
3. Now, Search for “Newtonsoft” and add the “JSON.Net” package

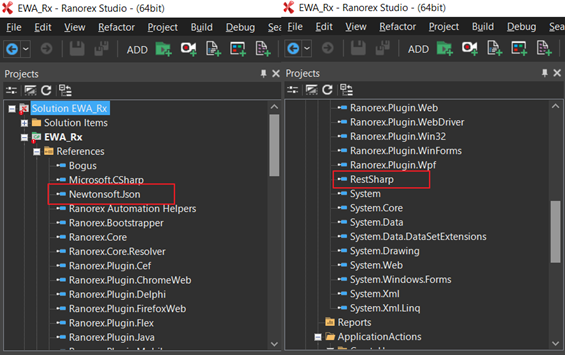
Now, the packages have been added to the solution. This can be verified by confirming their presence under the References folder inside the project.
Creating the APIHelperClass
Now that we have added the required packages, it is time to use them and create the content of our C# class.
To use the methods/functions of the package, we must import them into our class. The “using” keywordis used to import the packages. Add the following snippet to import the packages.
using RestSharp;
using Newtonsoft.Json;
using Newtonsoft.Json.Linq;
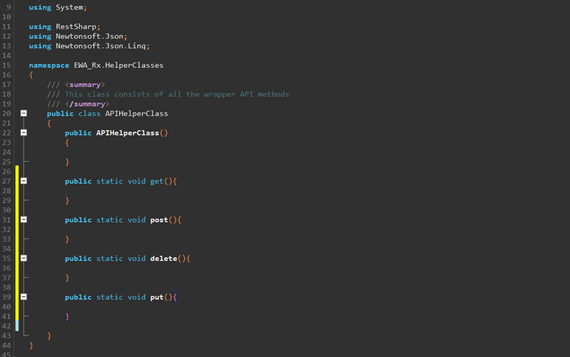
We will now add 4 basic methods to our class that represents the API methods: Get, Post, Put and Delete. This is how the basic structure of the class should look like:
This tutorial will cover the ‘GET’ request. Other methods would follow the same steps.
The following snippet can be used to create a sample GET request:
/// <summary>
/// Generic Get Method to fetch the API Response
/// </summary>
/// <param name="url"></param>
public static IRestResponse Get(string url){
            //The endpoint to which the request will be made
            RestClient client = new RestClient(url);
            // Set the Request Type: GET/POST/DELETE/PUT
            var request = new RestRequest(Method.GET);
            //Add Parameters if required
            // request.AddParameter("email",email);
            //Add Headers
            // request.AddHeader("Content-Type","application/json");
            // request.AddHeader("Authorization",token);
            //Execute The Request
            IRestResponse response = client.Execute(request);
            return response;
}
Now we need to create a generic parser method that will parse the JSON and return the value of the Key passed as parameter.
/// <summary>
/// Generic method to parse the JSON response
/// </summary>
/// <param name="response"></param>
/// <param name="key"></param>
public static String ParseJson(IRestResponse response, string key){
            string responseJson = "";
            //Verifies if the response has data
            if (response != null) {
                responseJson = response.Content;
            }
            Console.WriteLine(responseJson);
            string keyValue = "";
            //Parses the Json object from the JSON response
            JObject jsonobject = JObject.Parse(responseJson);
            //Fetches the value of the key passed
            keyValue = jsonobject.GetValue(key).ToString();
            Console.WriteLine("KeyValue is: "+keyValue);
            return keyValue;
}
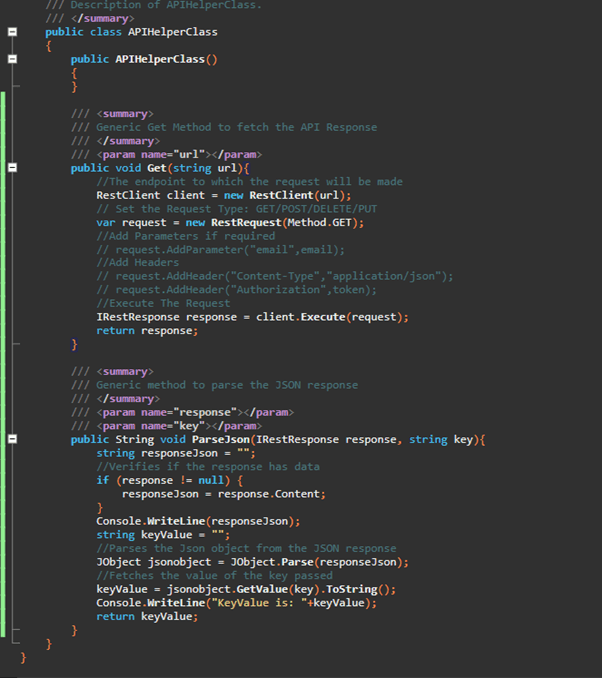
After adding these 2 methods, the final class should look like this:
Now we can use these methods in our test cases.
Test Cases to validate APIs
First, we need to create a new Test Case under our test suite. In the test case, add a new Recording module.
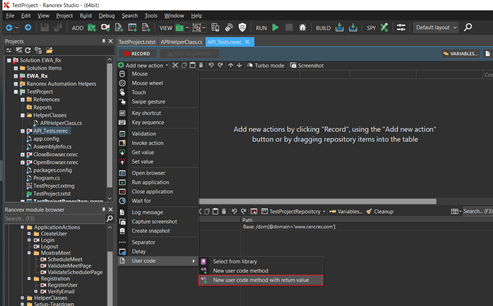
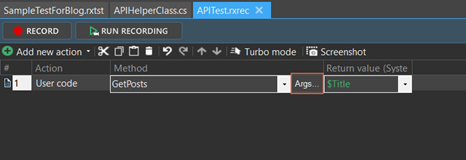
1. Open the recording module by double clicking on it and click ‘Add New Action’ > User Code > New User Code with Return Value.
This will add a new step in the recording module
2. Add the name of the method that we need to create
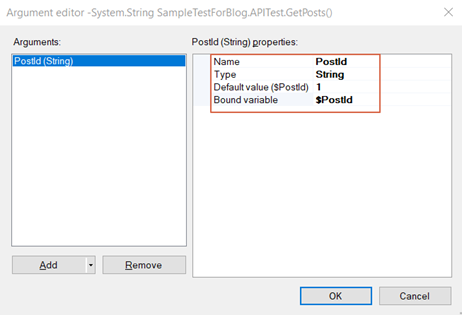
3. Set Arguments which will be passed as parameters to the function. It will depend on the step being performed and can be the key whose value we need to fetch, or the parameter to be passed to the API endpoint.
E.g: Email, UserId, OTP etc.
a. To add new arguments to the method, click the ‘Args’ button beside the name of the method. It will open an Argument Editor window.
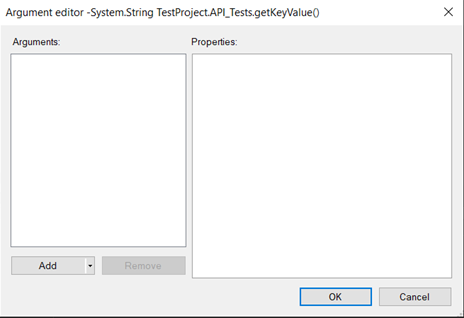
b. Click the ‘Add’ button to add a new Argument
4. Next, we need to create a variable which will capture the return value of the method
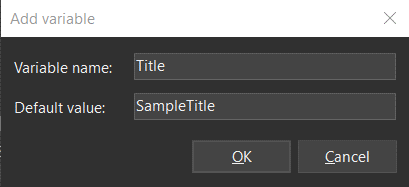
a. Click the ‘Return Value’ dropdown and click ‘New Variable’
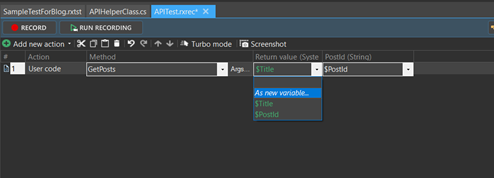
b. In the ‘Add Variable’ window, enter the name of the new variable. This variable will be the key whose value will be searched for, in the JSON response. Add a default value to the variable. (can be anything)
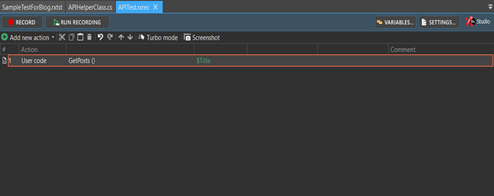
The final step in the recording module should look like this:
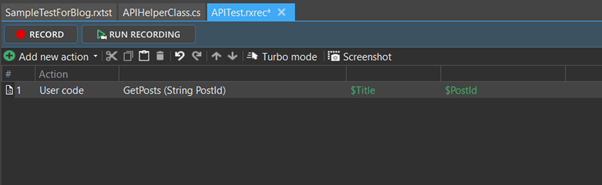
After having created the code module, we need to edit the code and call our APIHelperClass function to perform our API request and fetch the value of the key we require.
To edit the User Code, double click the step which will open the code module.

Now all we need to do is add the required code snippet to our user code method which will call the APIHelperClass Get Method to make the GET request, and ‘ParseJson’ to parse the response received.
A sample code will look like the following:
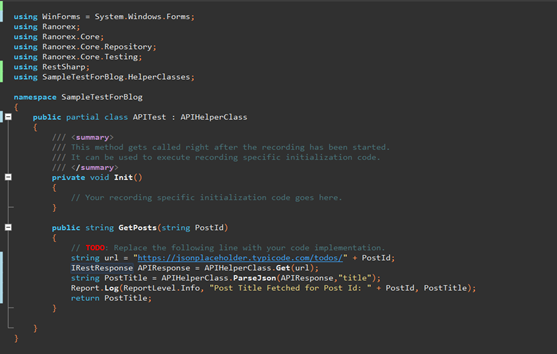
API used in this example is a sample API that can be found at this link for testing purposes.
Once we get the Key Value in our user variable created in one of the previous steps, we can add a validation step to compare the Actual Response and the Expected Response. To add a validation method, we create a new user code method using the steps above. The arguments accepted by the method could be ExpectedValue and ActualValue.
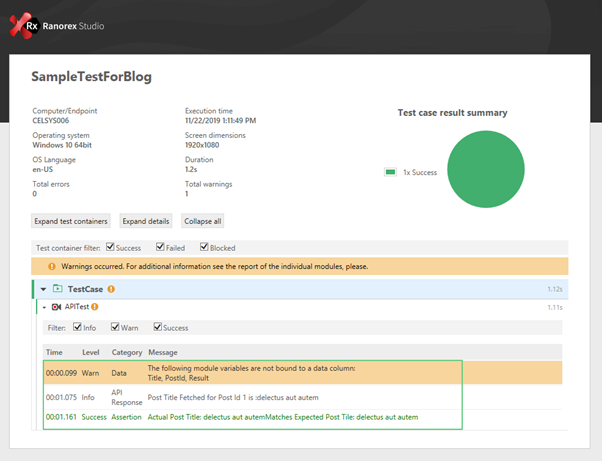
The resultant test would look like the following:


All you need to do now is run the test and review the report.
Conclusion
Ranorex Studio is primarily used for end-to-end GUI testing. But it does allow the user to create code modules which the user can utilize to do almost anything, including making calls to APIs and validating their responses. Ranorex may not be the ideal tool to automate API tests, but if the requirement arises to make an API call to support the GUI testing, it can easily be done.